
French Bias Binding!

There are two ways to attach the binding:
1) Topstitch from the front
2) Stitch in the Ditch from the front
I'm going to show you how to do the topstitching method and then explain the stitch in the ditch method!

1. Above you see my neckline sample and a 2" wide bias strip.

2. Fold bias tape in half, wrong sides together. Match the raw edges of the folded bias tape to the raw edge of the wrong side of neckline. Sew a 1/4" seam around the neckline.

3. Press the bias binding and the seam allowances up.

4. Fold the binding over to the right side just covering up the line of stitching.
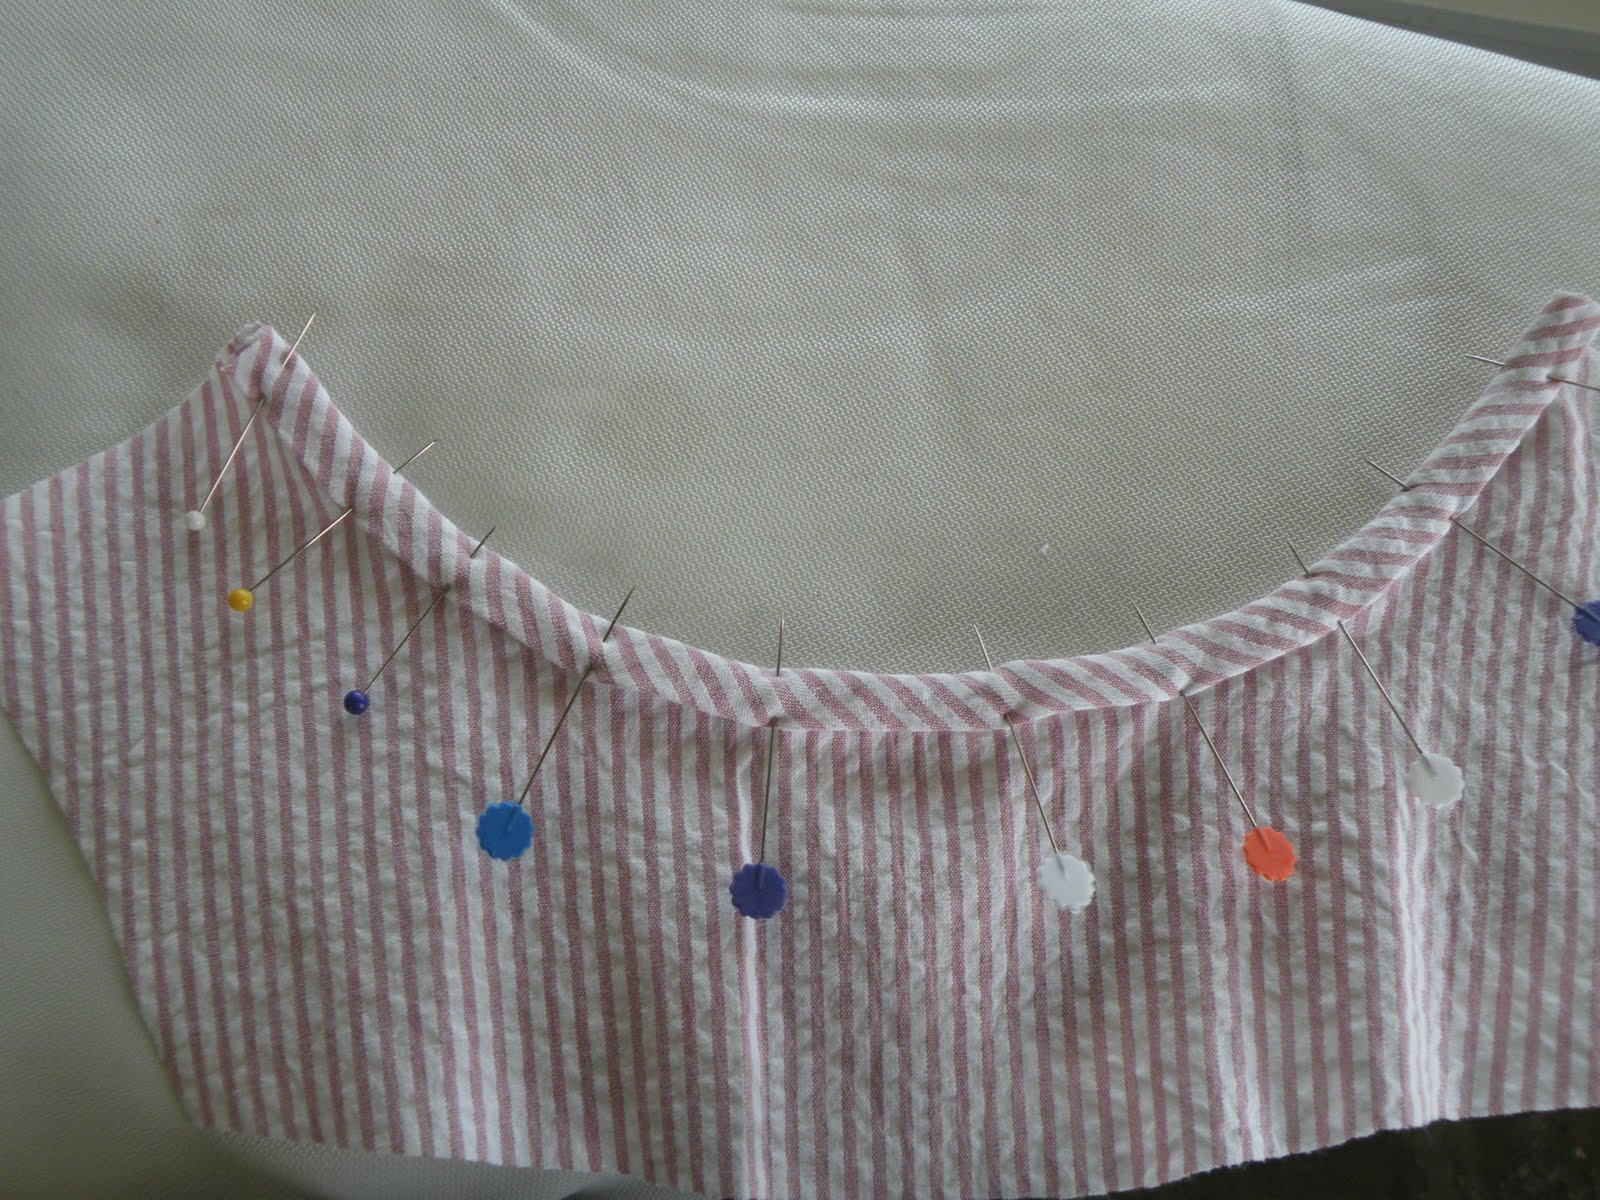
5. Pin in place (If you are real good, it's unnecessary).

6. Edge stitch the binding from the right side and you are done!
You can also hand stitch the binding down using a slip stitch (a blind stitch in which you stitch about 1/4" in the fold or tunnel of the binding, then take a small 1-2 thread "bite" of the main fabric, then continue back into the fold).
Okay so the other way you can do this is:
1) Fold bias tape in half, wrong sides together. Match the raw edges of the folded bias tape to the raw edge of the RIGHT side of neckline. Sew a 1/4" seam around the neckline.
2) Press the bias binding and the seam allowances up.
Okay so the other way you can do this is:
1) Fold bias tape in half, wrong sides together. Match the raw edges of the folded bias tape to the raw edge of the RIGHT side of neckline. Sew a 1/4" seam around the neckline.
2) Press the bias binding and the seam allowances up.
3) Fold the binding over to the WRONG side just covering up the line of stitching.
4) Pin in place.
5) Stitch in the ditch from the RIGHT side catching the folded over bias tape on the back.
Hope this was helpful! This is also a great way to bind quilts. Very sturdy, and crisp.
Also, thanks Nonissima for becoming the newest follower!
That's a very neat, clean finish. I have to pin. Otherwise, well you know what happens!
ReplyDeleteCan't remember if I let you know I received the cutest pattern in the whole wide world. thank you very much!
ReplyDeleteI have to pin too!
ReplyDeleteGreat, easy tut for something I didn't know how to do. Thanks!
ReplyDeletethank you,it helps me so much
ReplyDeleteLike your tute, very clear pics too.thumbs up!
ReplyDeleteIts awesome that ur from fidm haha i'm at the oc campus right now and u just helped me out huge!
ReplyDeleteNo wonder.... I didn't pin and the armholes puckered up big time... It looks horrible!,,,,,
ReplyDelete